XJIntegration 7 – XJTAG in TestStand

Learn how to integrate XJTAG boundary scan tests and programming routines into your NI TestStand sequence files by using XJRunner Integration, and how to use XJAnalyser Integration so TestStand sequences can control and read a JTAG device’s individual pins. You will learn:
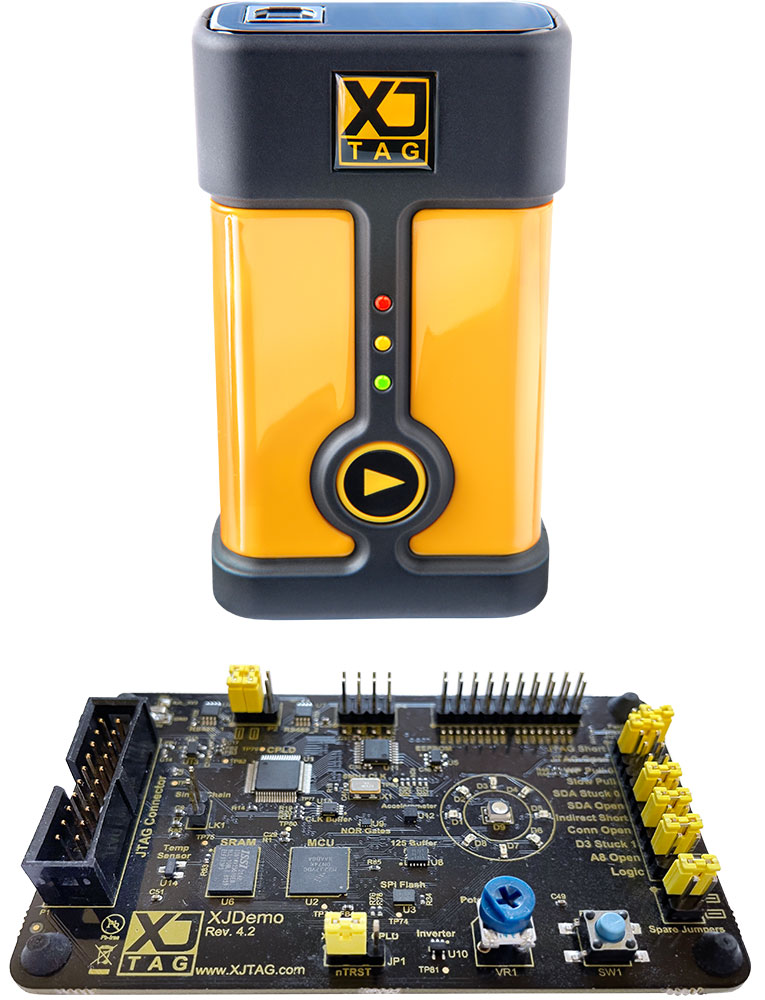
- How to initialise an XJLink2
- How to load a project
- How to run the test list
- The way to override the default settings that come with a test list so that you run all tests, a different set, or just one individual test
- How to use the StartTesting method so that control is returned before a test has finished executing
- How to override any conditions attached to a test in the test list
- When to dispose objects and use a system clean up
- How to control the individual pins of a JTAG device
- How to read a JTAG device’s pins
More about XJTAG integration into NI TestStand™
Video available in the following languages
- English |

Configure your products


Trusted by leading companies all over the world